Introduction
Managing your browsing history in Google Chrome on a MacBook Pro is essential for improving your online privacy and ensuring your browser performs optimally. Whether you want to clear stale data, set up auto-delete routines, or review your past activity, knowing your way around Chrome’s history settings is crucial. This guide will walk you through everything from accessing your history settings to enhancing your privacy using advanced techniques. Let’s get started with maintaining a cleaner, more secure browsing experience.

Why You Should Manage Your Browsing History
Managing your browsing history goes beyond just clearing out the clutter. It has several significant advantages:
- Privacy Protection: Regularly clearing your browsing history can keep your search and browsing habits private. This is particularly useful if you share your computer or use a public or work device.
- Improved Performance: Over time, a lot of stored data can slow down your browser. By managing your history, you ensure that Chrome runs smoothly and efficiently.
- Security: Browsing history can contain sensitive information. In the event of malware or hacking attempts, deleting this data can protect you from potential threats.
- Organized Interface: Keeping a tidy and manageable browsing history helps you find previously visited pages more quickly, which can save you time.
Ensuring regular maintenance of your browsing history is an excellent habit for digital hygiene. It supports a smoother online experience and keeps your personal information from falling into the wrong hands.
Getting Started: Preparing Your Chrome Browser
Before diving into the settings, make sure your Chrome browser is ready:
- Update Chrome: Ensure you have the latest version of Chrome. Click on the three vertical dots on the top right corner, go to ‘Help’, and then ‘About Google Chrome’. The browser will check for updates and apply any necessary ones.
- Backup Your Data: If you are logged into Chrome with a Google account, your data, including bookmarks and history, might already be synced. Check your synchronization settings under ‘Settings’ -> ‘You and Google’ -> ‘Sync and Google services’.
- Close Unnecessary Tabs: Having too many open tabs can slow down the process. Close any that you don’t need.
With this preparation done, you’re ready to move on to accessing and managing your history settings.
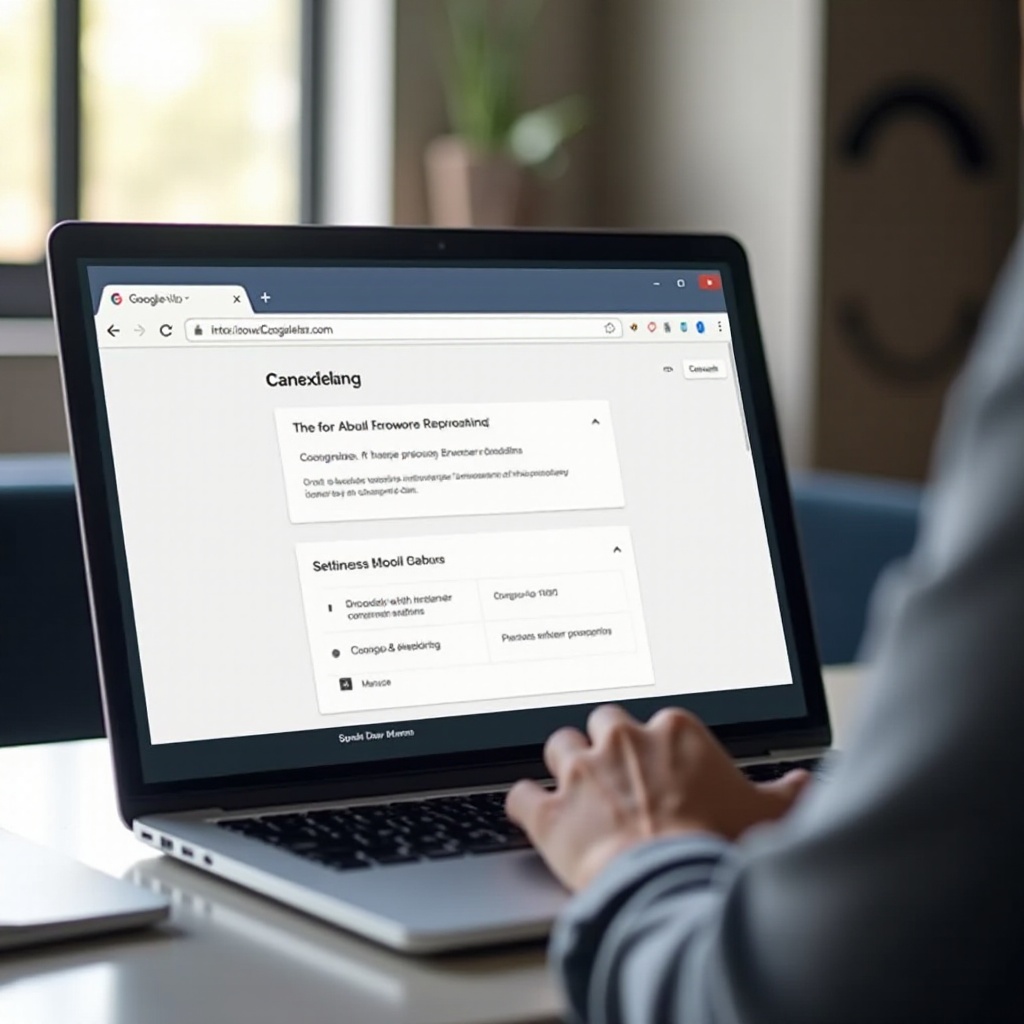
Accessing Chrome History Settings
To access your browsing history settings in Chrome, follow these steps:
- Open Chrome: Launch the Google Chrome browser on your MacBook Pro.
- Menu Access: Click on the three vertical dots (menu) in the upper right-hand corner.
- History: Hover over or click ‘History’ from the dropdown, then select ‘History’ again from the expanded menu, or simply press Command + Y on your keyboard.
This will take you directly to the history page where you can see a list of your visited sites and various options to manage your history.
Clearing Browsing History in Chrome
Clearing your browsing history is straightforward:
- Visit the History Page: Use the steps above to reach the history page.
- Clear Browsing Data: Click on ‘Clear browsing data’ on the left side.
- Time Range Selection: Choose the time range you want to clear (last hour, last 24 hours, etc.).
- Data Types to Clear: Tick the checkboxes for the data types you want to delete – browsing history, cookies, cached images, and files.
- Clear Data: Click ‘Clear data’ to complete the process.
By clearing this data, you can quickly free up resources and maintain your privacy.
Customizing Auto-Delete Options
For a more streamlined approach, set up auto-delete for your browsing history:
- Go to History Settings: Access Chrome’s history using the earlier steps.
- Auto Delete: Look for an option labeled ‘Manage activity’ or ‘Auto-delete’ within the history settings.
- Set Preferences: Choose how often you want Chrome to automatically delete your history. You can set it to delete anything older than 3, 18, or 36 months.
- Save Settings: Confirm and save your preferences.
Auto-delete helps manage your browsing history without requiring regular manual intervention.

Enhancing Privacy with Incognito Mode and Guest Profiles
Chrome offers several features to enhance privacy beyond just managing history:
- Incognito Mode: For temporary browsing without retaining history, use Incognito Mode. Click the three vertical dots and select ‘New Incognito Window’ or press Command + Shift + N.
- Guest Profiles: For sharing your device without sharing your history, set up a guest profile. Click on your profile icon in the top-right, then select ‘Guest’ from the dropdown.
These features are handy for keeping your activities private and unrecorded.
Using Chrome Extensions for History Management
Extensions can further assist in managing your browsing history:
- Visit the Chrome Web Store: Open the Web Store via menu -> ‘More tools’ -> ‘Extensions’, then search for history management extensions.
- Choose Wisely: Look for popular and highly-rated extensions such as ‘History Eraser’ or ‘Click&Clean’.
- Install and Configure: Click ‘Add to Chrome’ to install and follow the extension’s setup prompts.
Extensions provide additional functionalities and easy one-click options for handling history.
Troubleshooting Common Issues
Sometimes, managing Chrome history settings can present problems. Here’s how to address common issues:
- History Not Deleting: Ensure you are selecting the correct time range and all relevant boxes are checked. Try restarting Chrome.
- Settings Not Saving: Verify if syncing issues with your Google account are causing problems. Re-login to your account.
- Errors or Freezes: Clear cache for the entire browser. Do this via history settings under ‘Clear browsing data’ and ensure ‘Cached images and files’ is selected.
If issues persist, consider reinstalling Chrome or contacting Google support for further assistance.
Conclusion
Keeping control over your browsing history in Google Chrome on your MacBook Pro is crucial for privacy, security, and maintaining browser performance. Whether you are manually clearing history, setting up auto-delete, or using Incognito Mode, each step is vital for a well-maintained browser. Utilizing extensions can further simplify the process, making history management a breeze. By taking these actions, you ensure a smoother and safer online experience.
Frequently Asked Questions
How do I access Chrome’s history settings on a MacBook Pro?
You can access Chrome’s history settings by opening Chrome, clicking on the three vertical dots in the upper right-hand corner, hovering over ‘History’, and then selecting ‘History’ again from the expanded menu or pressing Command + Y.
Can I set Chrome to automatically delete my browsing history?
Yes, you can set up automatic deletion. Navigate to history settings, find ‘Manage activity’ or ‘Auto-delete’, choose the time range for auto-deletion, and save the settings.
What should I do if my history settings are not saving correctly?
Ensure syncing with your Google account is working correctly, and check for synchronization issues. If problems persist, try restarting Chrome, clearing the cache, and, if needed, contact Google support for assistance.