Introduction
Connecting a Pop Mouse to your MacBook can significantly enhance your computing experience. Whether for improved control, better productivity, or replacing an outdated mouse, ensuring a smooth connection is crucial. This guide offers step-by-step instructions for checking compatibility, setting up, connecting by Bluetooth and USB receiver methods, handling common problems, and optimizing performance. Let’s start by ensuring that the Pop Mouse is compatible with your MacBook.

Compatibility Check
Before you proceed to connect your Pop Mouse to your MacBook, ensuring compatibility is essential. Most modern MacBooks support both Bluetooth and USB input devices. Verify your MacBook’s specifications or visit the Apple website for Bluetooth version support. Pop Mouse typically requires Bluetooth 4.0 or higher. Plus, your macOS should be fairly recent to support the latest device drivers.
Here’s how to check this:
1. Click on the Apple logo in the top-left corner of your screen.
2. Select ‘About This Mac.
3. Under ‘Overview,’ note your MacBook’s model and year, then select ‘System Report’ to view details about Bluetooth and USB ports.
Preparing Your MacBook
With compatibility confirmed, the next step is to prepare your MacBook. Ensuring that your macOS is up-to-date is crucial since software updates can fix bugs and improve device connectivity.
To update macOS:
1. Click on the Apple logo.
2. Select ‘System Preferences’ and then ‘Software Update.
3. Follow the prompts to install any available updates.
For Bluetooth connections:
1. Open ‘System Preferences.
2. Click ‘Bluetooth.
3. If it’s off, click ‘Turn Bluetooth On.
Having these settings in place primes your MacBook for a smooth connection process.
Connecting via Bluetooth
- Begin by turning on your Pop Mouse. It typically has a power switch on the underside.
- On your MacBook, navigate to ‘System Preferences,’ then ‘Bluetooth,’ and ensure it’s turned on.
- Your MacBook will start searching for nearby Bluetooth devices. Your Pop Mouse should appear in the list of available devices.
- Select your Pop Mouse from the list, and click ‘Connect.
If prompted for a passcode, enter ‘0000’. This is a common default code for many Bluetooth devices.
Ensuring a Successful Connection
- Place the mouse close to your MacBook for better signal reception.
- Ensure no other Bluetooth devices are interfering with the connection.
Once connected, your Pop Mouse should appear as connected in Bluetooth settings. You can now begin using it or customize its settings for better functionality.
Connecting Using USB Receiver
If your Pop Mouse came with a USB receiver, or if you prefer this method, follow these steps:
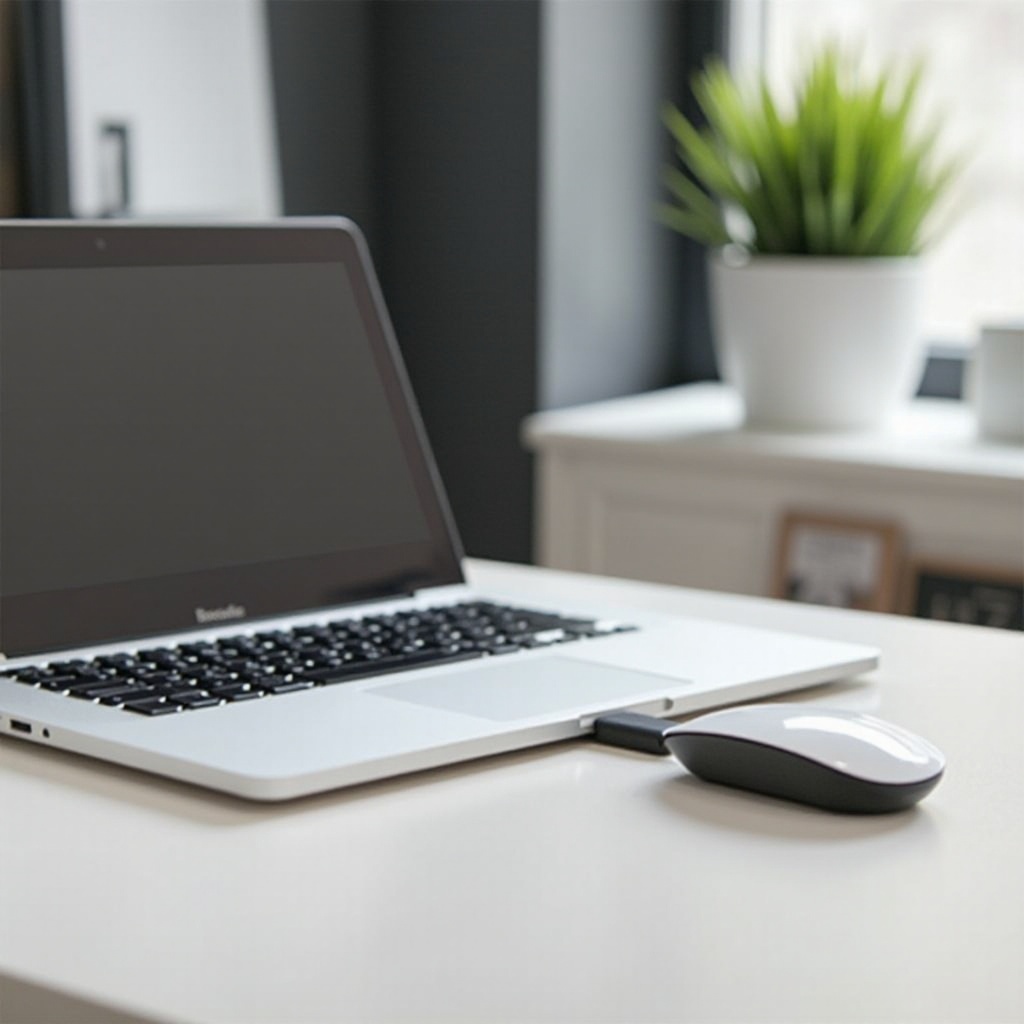
- Insert the USB receiver into one of your MacBook’s USB ports. For MacBooks with only USB-C ports, you may need a USB-C to USB-A adapter.
- Turn on the Pop Mouse using the power switch.
- The MacBook should automatically recognize the USB receiver and the connected device. A notification may appear confirming the connection.
Advantages of Using a USB Receiver
- Often more stable than Bluetooth.
- Lower latency and immediate response time.
The USB method is generally plug-and-play, requiring minimal configuration.

Troubleshooting Common Issues
If you encounter issues while connecting your Pop Mouse, here are some common solutions:
- Bluetooth Connection Issues:
- Make sure the mouse is in pairing mode.
- Restart both the Pop Mouse and MacBook.
-
Remove interference from other Bluetooth devices.
-
USB Receiver Not Recognized:
- Try another USB port or use a different adapter.
- Restart your MacBook with the receiver plugged in.
-
Check for macOS updates that might include driver fixes.
-
General Connectivity Problems:
- Reset the Bluetooth module: Hold Shift + Option and click the Bluetooth icon in the menu bar, then choose ‘Reset the Bluetooth module.
- Make sure your MacBook isn’t restricting the device due to security policies, which can be managed in ‘System Preferences > Security & Privacy.
Addressing these issues should help you establish and maintain a stable connection.
Tips for Optimal Mouse Performance
- Keep Software Updated: Ensure both macOS and the Pop Mouse firmware are up-to-date for optimal performance.
- Customize Settings: Mac offers options to customize pointer speed, scrolling, and button functionality. Explore these in ‘System Preferences > Mouse.
- Proper Surface: Use the mouse on suitable, non-reflective surfaces for accurate tracking.
Following these tips ensures a smooth experience and more responsive Pop Mouse.

Conclusion
Connecting your Pop Mouse to a MacBook doesn’t need to be complicated. Whether using Bluetooth or USB, ensuring compatibility and troubleshooting common issues will promote a seamless experience. Keep software updated, customize settings, and use appropriate surfaces for best performance.
Frequently Asked Questions
What should I do if my Pop Mouse isn’t connecting to my MacBook?
Ensure your device is in pairing mode, check Bluetooth settings, restart your devices, or try a different USB port if using a receiver.
Can I use a Pop Mouse with older MacBook models?
Yes, as long as the MacBook supports Bluetooth 4.0 or higher and runs a compatible macOS version. A USB receiver is an alternative for older models.
How do I customize the Pop Mouse settings on my MacBook?
Navigate to ‘System Preferences,’ then ‘Mouse,’ where you can adjust pointer speed, scrolling, and button functionalities to tailor the device to your preferences.

