Introduction
Connecting your Chromebook to a network is essential for using its full array of features, whether you’re browsing the web, downloading apps, or streaming content. With multiple methods to connect, including Wi-Fi, Ethernet, and mobile hotspots, it’s crucial to know how to set each one up. This article will guide you through various paths to establish a network connection for your Chromebook, ensuring you get online without a hitch. You’ll also learn how to configure advanced settings and troubleshoot common issues.
Preparing Your Chromebook
Before connecting your Chromebook to a network, ensure it’s well-prepped. Start by updating your Chrome OS to the latest version. To do this, click on your status area, which is typically located at the bottom right of your screen. Then, select the Settings icon, navigate to About Chrome OS, and follow the on-screen instructions to check for updates.
Next, ensure your battery is sufficiently charged, or better yet, plug in your Chromebook. A stable power source minimizes interruptions during the setup process. Lastly, gather the necessary credentials. For Wi-Fi, you’ll need the network name (SSID) and password. For Ethernet or VPN connections, ensure you have relevant hardware or setup information handy.

Connecting to Wi-Fi
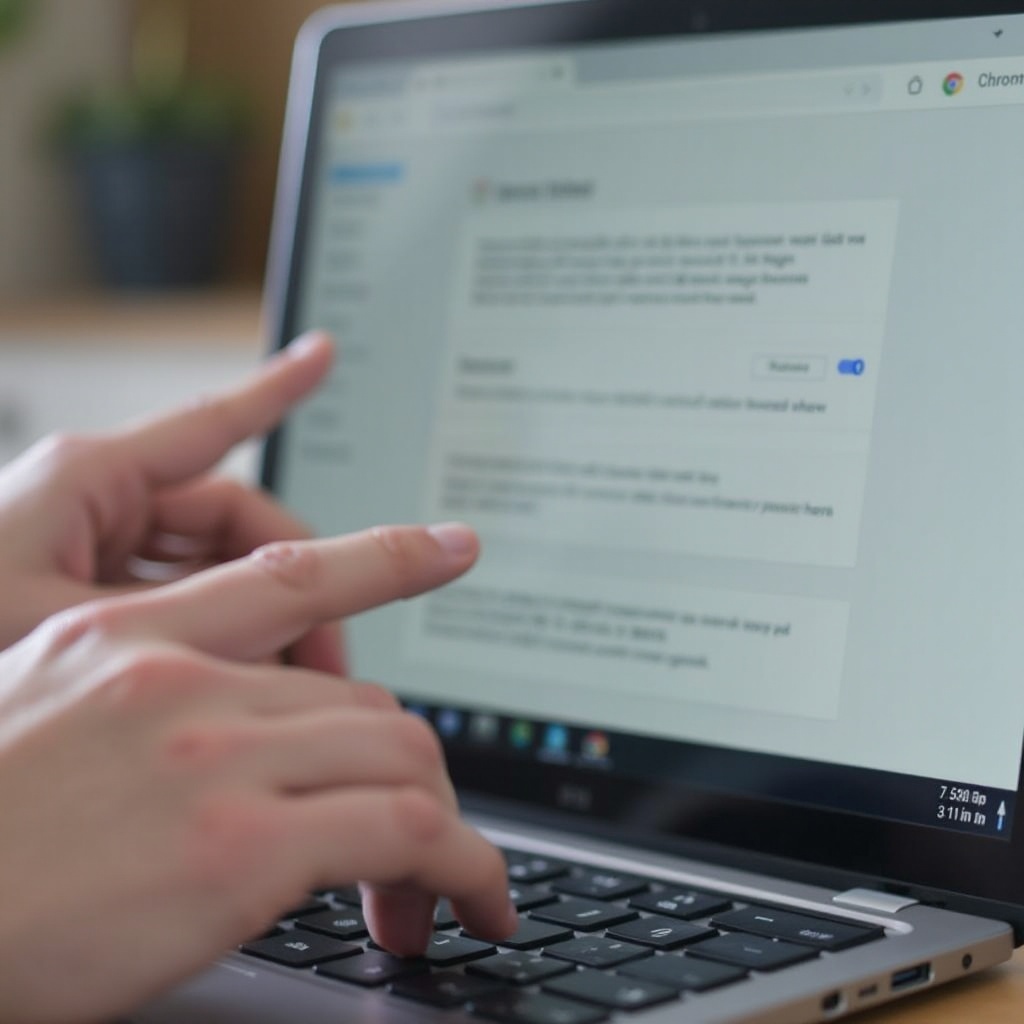
Most users connect their Chromebooks via Wi-Fi for the convenience and flexibility it offers. To begin:
- Click on your status area at the bottom-right corner of your screen.
- Select the Wi-Fi network icon.
- A list of available networks will appear. Choose your preferred network.
- Enter the network password if prompted, then click Connect.
Wait a moment as your Chromebook connects to the network. Once connected, you will typically see a Wi-Fi icon in the status area.
If you encounter any issues, double-check the password and ensure the Wi-Fi signal is strong. Restarting both your Chromebook and the router can also help solve connection problems.
Connecting via Ethernet
While Wi-Fi is convenient, Ethernet connections offer a more stable and sometimes faster internet connection.
- Obtain an Ethernet-to-USB adapter if your Chromebook does not have an Ethernet port.
- Connect one end of the Ethernet cable to your router and the other end to the adapter connected to your Chromebook.
- Your Chromebook should automatically recognize the Ethernet connection. You can confirm this by clicking on the status area and looking for a wired connection icon.
Ethernet is especially useful in environments with fluctuating Wi-Fi stability or when downloading large files where high-speed connectivity is critical.
Using Mobile Hotspot
Mobile hotspots are a great alternative for accessing the internet on your Chromebook, especially when Wi-Fi or Ethernet connections are unavailable.
- First, enable the mobile hotspot feature on your smartphone by going to its settings.
- On your Chromebook, click on the status area.
- Click on the Wi-Fi icon to view available networks.
- Select your mobile hotspot from the list and enter the required password.
Your Chromebook should now connect to the internet via your mobile hotspot. This method can be exceptionally handy when you need internet access on the go.
Configuring Advanced Network Settings
For advanced users, configuring settings beyond the basic connection can optimize performance and ensure security.
Configuring Proxy Settings
- Click the status area and then the Settings icon.
- Scroll down to Network settings.
- Click on the network you are connected to, then select Proxy.
- Enter the appropriate proxy settings provided by your network administrator.
Connecting to a VPN
- Navigate to the Settings menu.
- Scroll to Network, click on Add Connection, then select Add OpenVPN/L2TP.
- Enter the VPN details as provided by your service provider and click Connect.
Handling Network Security Protocols
- Go to Settings, then Network.
- Click on your network, then adjust the security settings such as WPA or WPA2 security types.
Configuring these advanced settings can help in securing your connection and better managing your network’s performance.
Troubleshooting Network Connectivity Issues
Sometimes, despite careful steps, you might face connectivity issues. Start troubleshooting with these steps:
- Restart Devices: Power off your Chromebook and router then turn them back on.
- Check Credentials: Ensure you’re using the correct network name (SSID) and password.
- Signal Strength: Move closer to the router if you’re on Wi-Fi.
- Forget and Reconnect: Click on Wi-Fi icon, then select ‘Forget’ on your network and reconnect.
- Chromebook Diagnostics: Use the built-in network diagnostic tool found under Settings > Network > [your network] > Network Diagnostics.
If the issue persists, you might need to check for more significant issues with your router or internet service provider.
Conclusion
Connecting a Chromebook to your network is straightforward, whether you’re using Wi-Fi, Ethernet, or a mobile hotspot. Once connected, you can further optimize your experience by configuring advanced settings and protecting your connection. Always ensure your device is updated for the best performance. Should connectivity issues arise, troubleshooting tips can help you get back online quickly.
Frequently Asked Questions
How do I connect my Chromebook to my home network?
To connect your Chromebook to your home network, click on the status area at the bottom right of your screen, select the Wi-Fi icon, choose your home network from the list, and enter the network password if prompted.
What should I do if my Chromebook can’t find my Wi-Fi network?
If your Chromebook can’t find your Wi-Fi network, first ensure the network is on and within range. Restart your Chromebook and router, verify your network’s visibility settings, and ensure no interference is affecting the signal.
Is it safe to connect my Chromebook to public Wi-Fi?
Yes, but exercise caution. Public Wi-Fi networks can be less secure. Avoid accessing sensitive information, use HTTPS websites, and consider using a VPN for an added layer of security.