Introduction
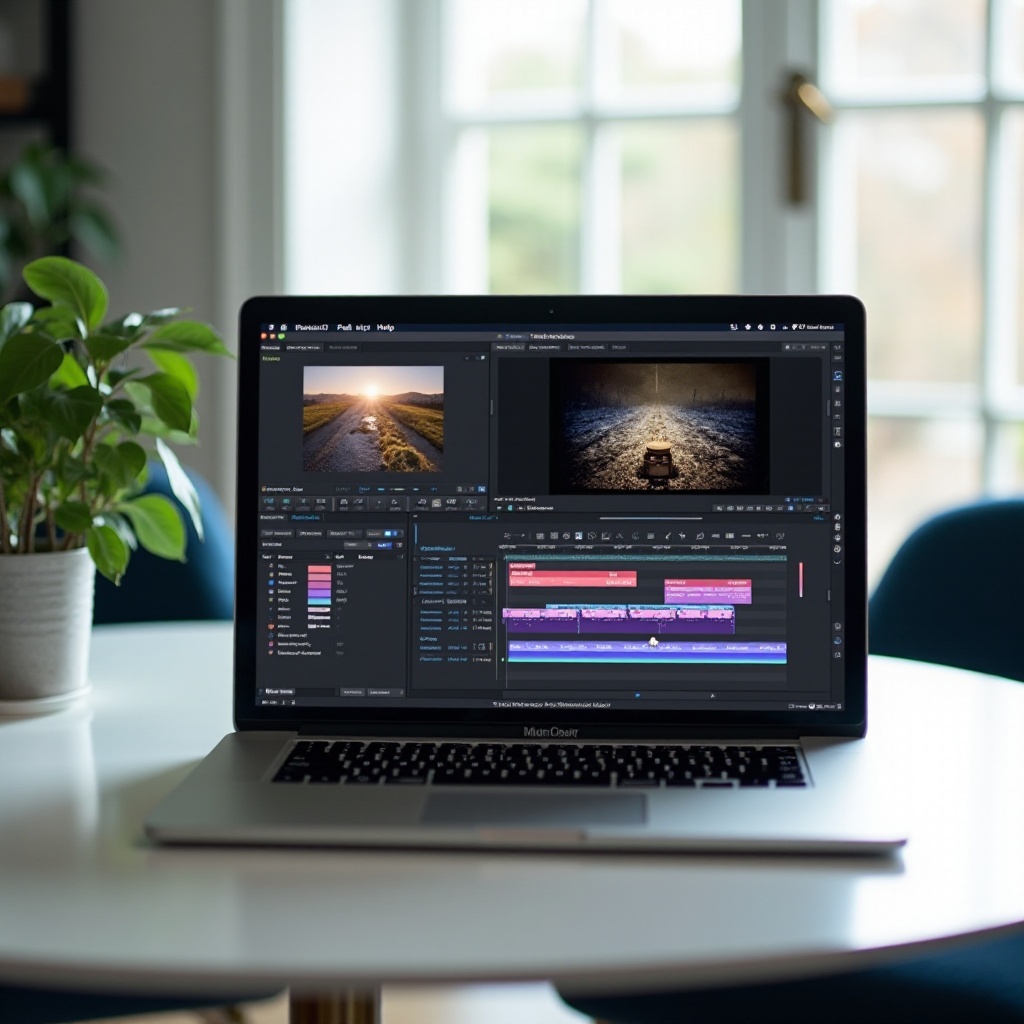
Editing high-quality video content is a demanding task, and having the right tools is essential for seamless production. Adobe Premiere Pro is a leading video editing software used by professionals worldwide. Combining it with Apple’s MacBook Air M3 brings noteworthy advantages in terms of performance and portability. This guide will cover how to leverage the MacBook Air M3’s capabilities to maximize your video editing efficiency with Adobe Premiere Pro.

Understanding the Capabilities of MacBook Air M3
The MacBook Air M3 introduces a significant leap in Apple’s hardware capabilities, especially for demanding tasks such as video editing.
Key Specifications and Performance
Apple’s M3 chip in the MacBook Air features an improved 8-core CPU and up to 10-core GPU, providing substantial power and speed enhancements over its predecessors. This makes it an excellent choice for video editing tasks that require processing high-resolution footage and rendering complex sequences quickly.
Advantages for Video Editing
The MacBook Air M3’s GPU capabilities enable smooth playback and editing of 4K videos, while the Unified Memory Architecture ensures efficient multitasking without compromising on speed. Additionally, its Retina display offers accurate color representation, essential for any professional video editor.

Installing and Setting Up Adobe Premiere Pro
Getting Adobe Premiere Pro up and running on your MacBook Air M3 is straightforward and only requires a few steps.
Downloading and Installing
- Visit the Adobe Premiere Pro page on Adobe’s official website.
- Purchase a subscription or start a free trial.
- Download the Adobe Creative Cloud application.
- Install Adobe Creative Cloud and login with your Adobe ID.
- Locate Adobe Premiere Pro in the Creative Cloud dashboard and initiate the download and install process.
Initial Configuration Tips
Once installed, launch Adobe Premiere Pro and configure some initial settings:
– Set your preferred project location to ensure you have enough storage space.
– Customize the workspace to suit your editing style.
– Adjust preferences such as Auto Save interval to avoid losing work.
Optimizing Adobe Premiere Pro for MacBook Air M3
To extract the best performance from Adobe Premiere Pro on a MacBook Air M3, some optimization steps are necessary.
Adjusting Playback Settings
Playback settings can significantly impact performance. In the Premiere Pro menu:
– Navigate to Preferences > Playback.
– Choose the correct Audio Hardware device.
– Adjust the ‘Paused Resolution’ and ‘Playback Resolution’ settings to Half or Quarter to reduce the load on your GPU during editing.
Utilizing GPU Acceleration
Using GPU acceleration can dramatically improve render times and playback performance.
– Go to File > Project Settings > General.
– Under the ‘Renderer’ dropdown, select ‘Mercury Playback Engine GPU Acceleration’.
Memory and Storage Optimization
Maximize the efficiency of Adobe Premiere Pro by:
– Allocating more RAM to Adobe Premiere Pro under Preferences > Memory.
– Ensuring your project files and cache are stored on an SSD for faster access times.
– Regularly clearing media cache from Preferences > Media Cache to prevent slowdown.
Enhancing Your Editing Workflow
A streamlined workflow can save significant editing time and allows you to work more efficiently.
Keyboard Shortcuts and Presets
Learning and utilizing keyboard shortcuts is vital for any editor looking to speed up their workflow. Customize your shortcuts by:
– Navigating to Premiere Pro > Keyboard Shortcuts and defining keys for frequently used actions.
– Use preset templates or create your own for commonly applied effects and export settings.
Managing Media and Sequences Efficiently
Effective media management:
– Organize your project by creating bins for different types of media (e.g., raw footage, audio, graphics).
– Use the ‘Label’ feature to color-code clips according to their type or importance.
– Sequence nesting can help manage complex timelines by combining multiple sequences into a single track, keeping your project tidy and less cluttered.

Troubleshooting Common Issues
Even with optimal configuration, you may encounter some issues. Here’s how to tackle common problems:
Performance Bottlenecks
If you experience lagging or stuttering:
– Ensure no other heavy applications are running concurrently.
– Check system resource usage via the Activity Monitor to identify resource hogs.
Playback and Rendering Problems
For playback and rendering issues:
– Clear your media cache to improve performance.
– Ensure your sequence settings match your video’s resolution and frame rate.
– Update Adobe Premiere Pro and your macOS to the latest versions for optimal compatibility and bug fixes.
Conclusion
Combining Adobe Premiere Pro with the MacBook Air M3 offers a powerful video editing combo for both beginner and professional editors. By following the setup and optimization tips in this guide, you can achieve a smooth and efficient editing workflow, allowing you to produce high-quality projects with ease.
Frequently Asked Questions
Is the MacBook Air M3 powerful enough for Adobe Premiere Pro?
Yes, the MacBook Air M3 with its advanced GPU and CPU capabilities is powerful enough to handle Adobe Premiere Pro, making it an excellent choice for video editing while on the go.
What are the best settings for Adobe Premiere Pro on MacBook Air M3?
Optimizing playback resolution, enabling GPU acceleration, and managing media cache are some of the best settings to ensure smooth performance on the MacBook Air M3.
Can I use external monitors and storage with MacBook Air M3 for video editing?
Absolutely. External monitors and SSDs can enhance your editing experience by providing more screen real estate and faster access to large video files.

